Featured Discussion: STENCILS
Fourteen people attended. July's red, white, and blue theme display is just around the corner.
Lou reports Tamiya's 1/35 M-24 Chaffee and 1/48 Bf-109 G6 (late) are available.
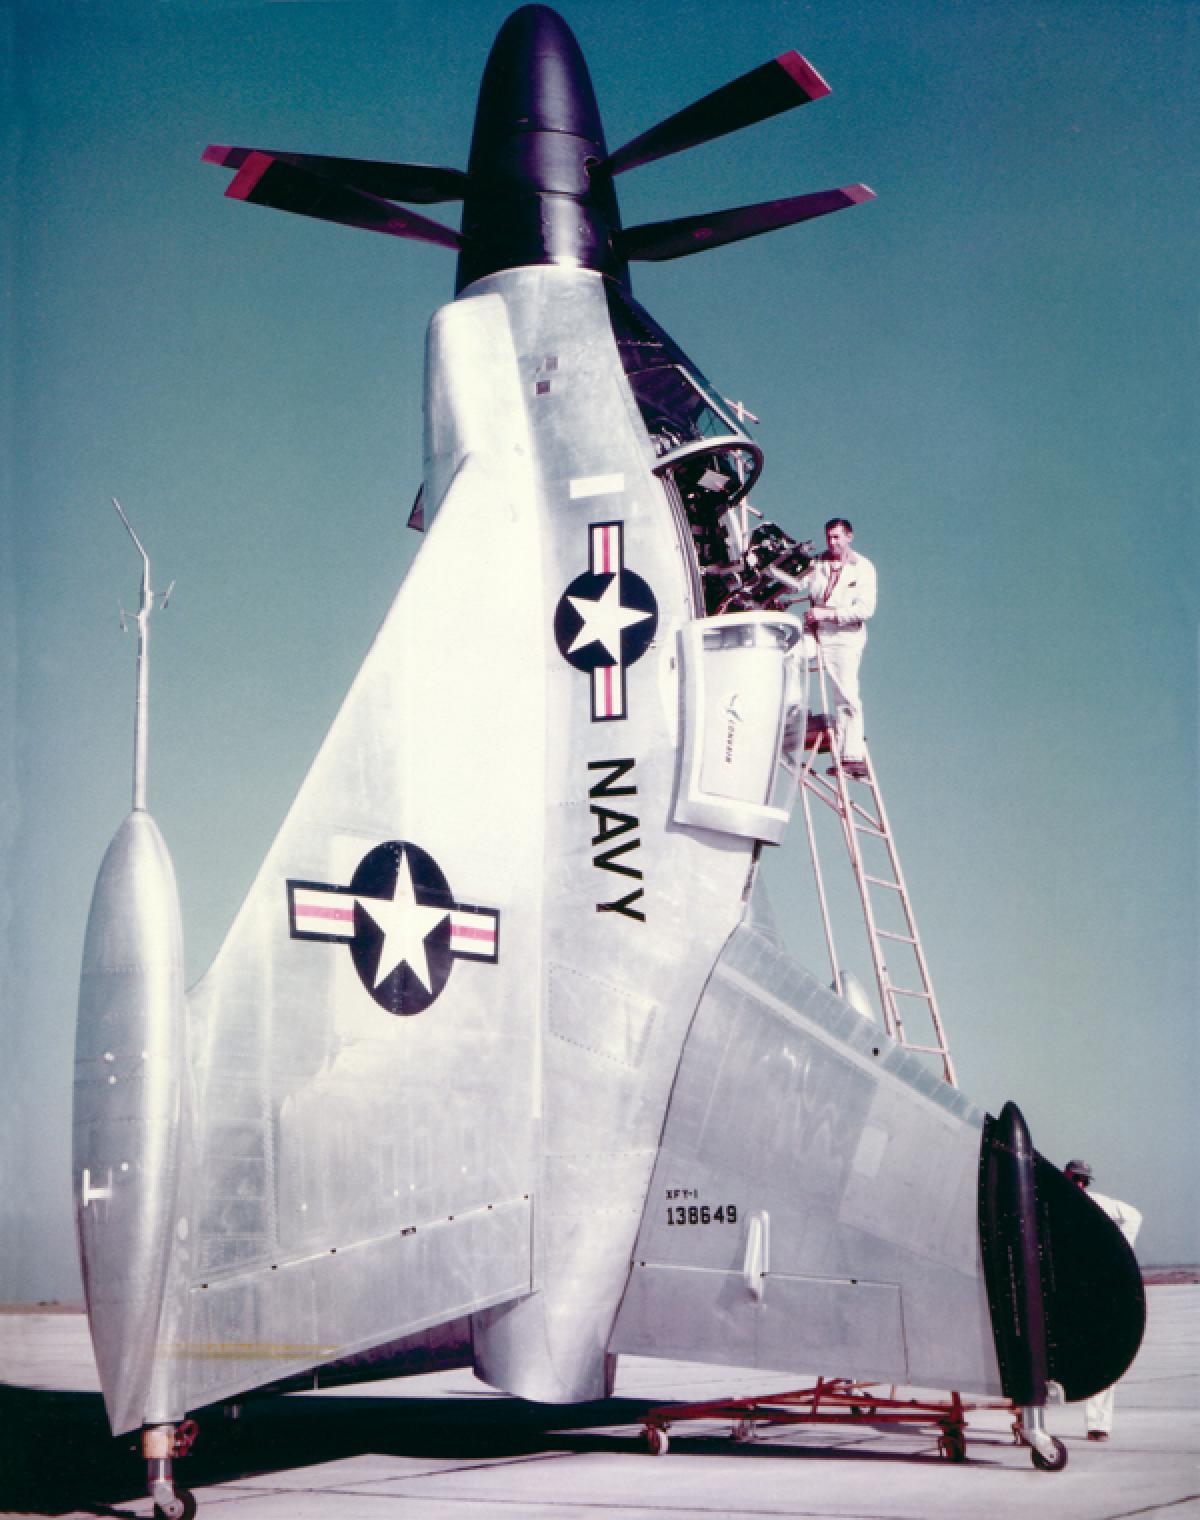
Frank C asked if anyone could identify the unfamiliar jet he saw in
flight and assumed it was part of the July 4th Jones Beach airshow.
Turns out it's a L-15 Falcon of the UAE and, yes, they'll be at Jones
Beach.
Hugh is passing the time applying, removing, and reapplying Alclad coatings.
Chuck told us about a good experience he had getting decals for his
vintage Do 17 from WingsAndRails, a vendor he found on Etsy.
Veering a little from the upcoming US sci-fi theme contest discussion,
Kevin recalled meeting Soviet cosmonaut Alexei Leonov, the first man to
walk in space, at an autograph event, where he signed the base of a
Voskhod 2 spacewalk model Kevin was working on.
Then we saw the finished model.
We also Jimmy's F-18 C cockpit and Ornithopter (his first time using AK
gen 3 paint), Chuck's P-40 (two, actually) and Do- 17, Erasmo's F-101
Voodoo and Macci C-200, Lee's Grumman X-29, Kevin's busts of Childs
(from The Thing) and Frederick Frankenstein (a
Jeff Yager sculpt from, well, you know), and Russ' Huey Cobra.
A 1/35 Kubelwagon and Schwimmwagen from Hero - Hobby the acquisitions. At $10 each, why not?
Bobby presented this week's tool, a 3D printed miniature painting vise with jaws. At $3, why not?
The topic was stencils, all kinds of stencils - decals, masks, and
templates. Many agreed with Erasmo, that 1/72 aircraft stencil decals
are more trouble than they're worth. Like Simon said, "decals can be
stressful." Lou remembered photoetch stencils for numbers
and national markings were popular 10 years ago. Bobby showed us an
assortment of flexible plastic stencils he got online suitable for
sci-fi and military subjects, and he remembered Don used a lot of
stencils for his hypothetical Luftwaffe aircraft. Jimmy
posted a link to stencils available from Amazon on the group chat. Temu
and AliExpress have them, too. Michael C showed us several metal
templates (from Hobby Mio and Easycutting) for use with adhesive backed
paper to make camouflage pattern shapes. I expect
we'll learn more about these items in future.
The next meeting is Tuesday, 7/7/26 at 7:30 pm. Frank C will send the invites. Thanks, Frank.
Stay cool and have a safe 4th of July.
~Russ